
Highlight your product with Profile Service
January 26, 2026
Profile Service highlights the best of your product.
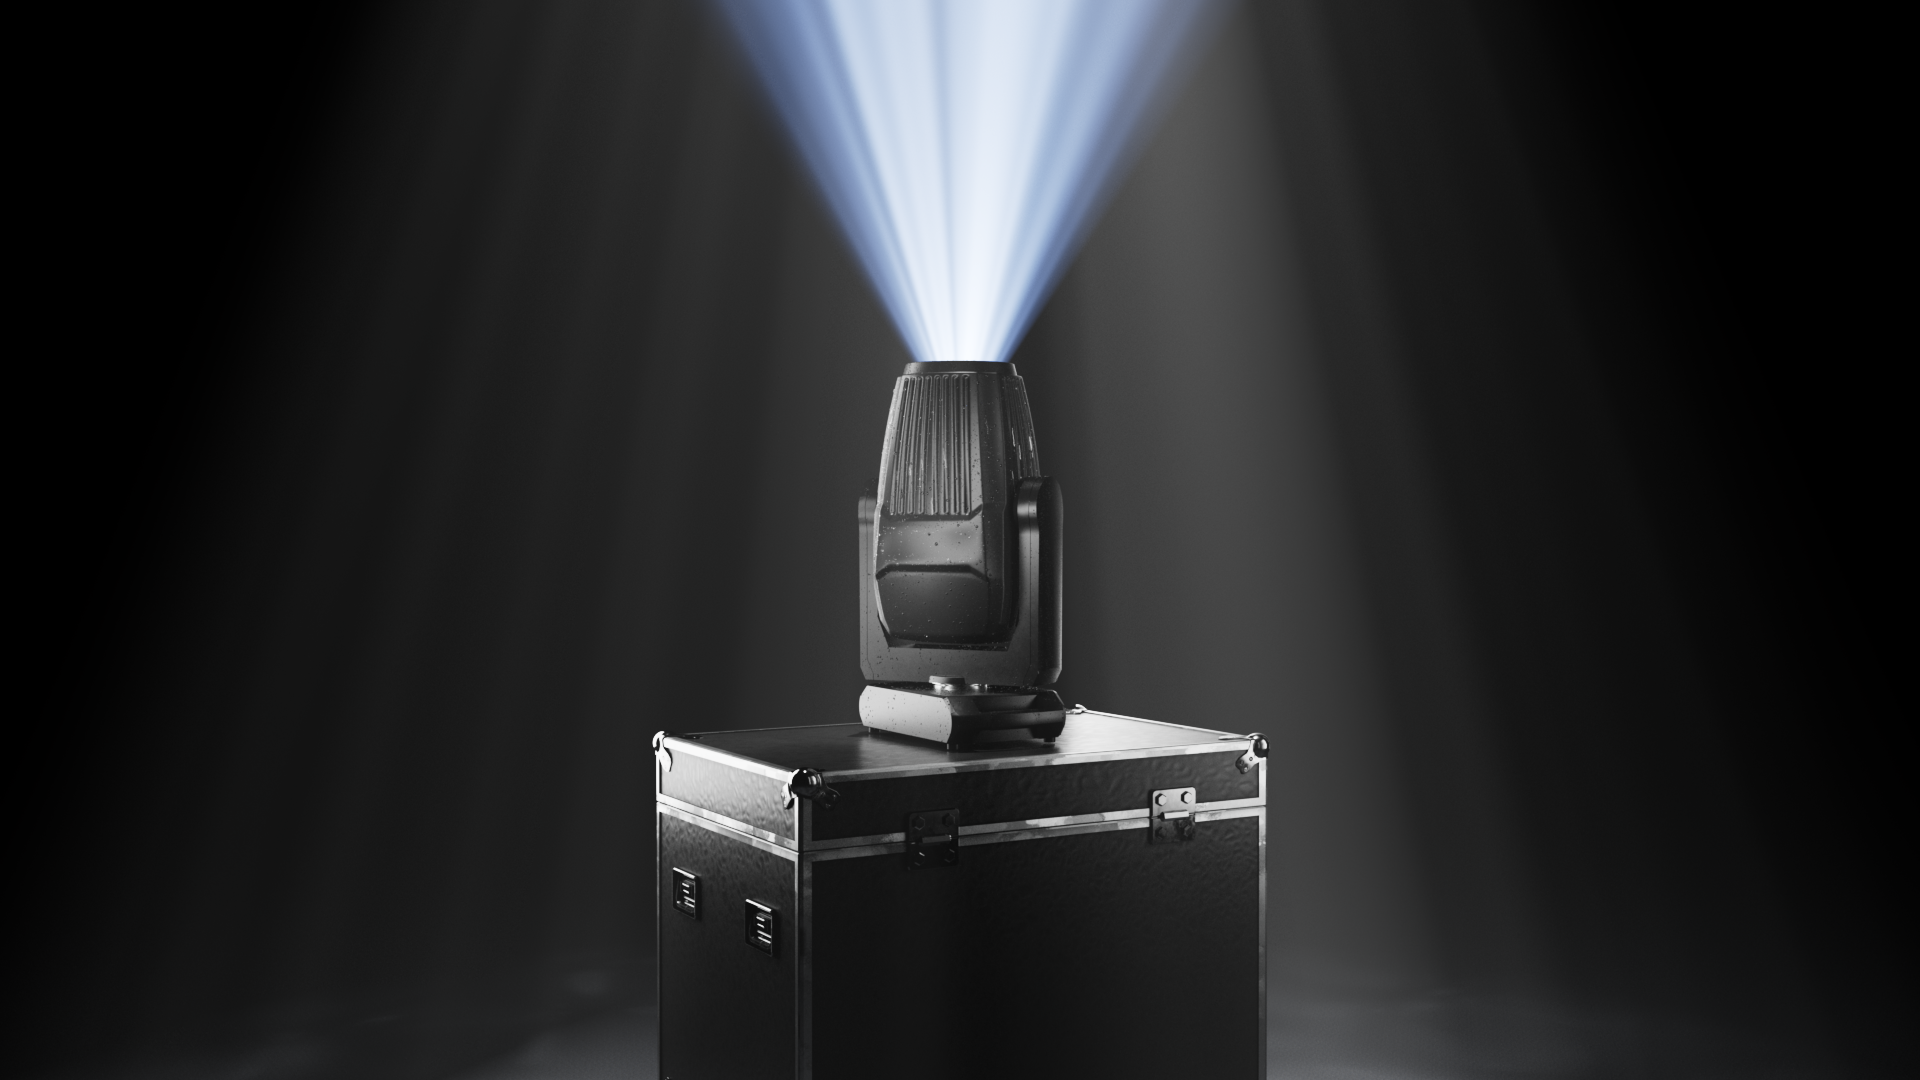
Launch with maximum impact, before a single unit even ships. Profile Service turns your CAD files into photo-realistic 3D renders that accelerate your launch and save you time and budget.
Why Render?
🔹️ Go-to-Market Speed: Get perfect visuals instantly (websites, brochures, ads).
🔹️ Save Big: Skip the expensive studio time and save thousands in production costs.
🔹️ Clarity Unmatched: Use dynamic animations to show complex processes (like component swaps or modularity) with crystal clarity!
We deliver premium performance without the premium price tag. Every port, every design detail, rendered in stunning high-fidelity.
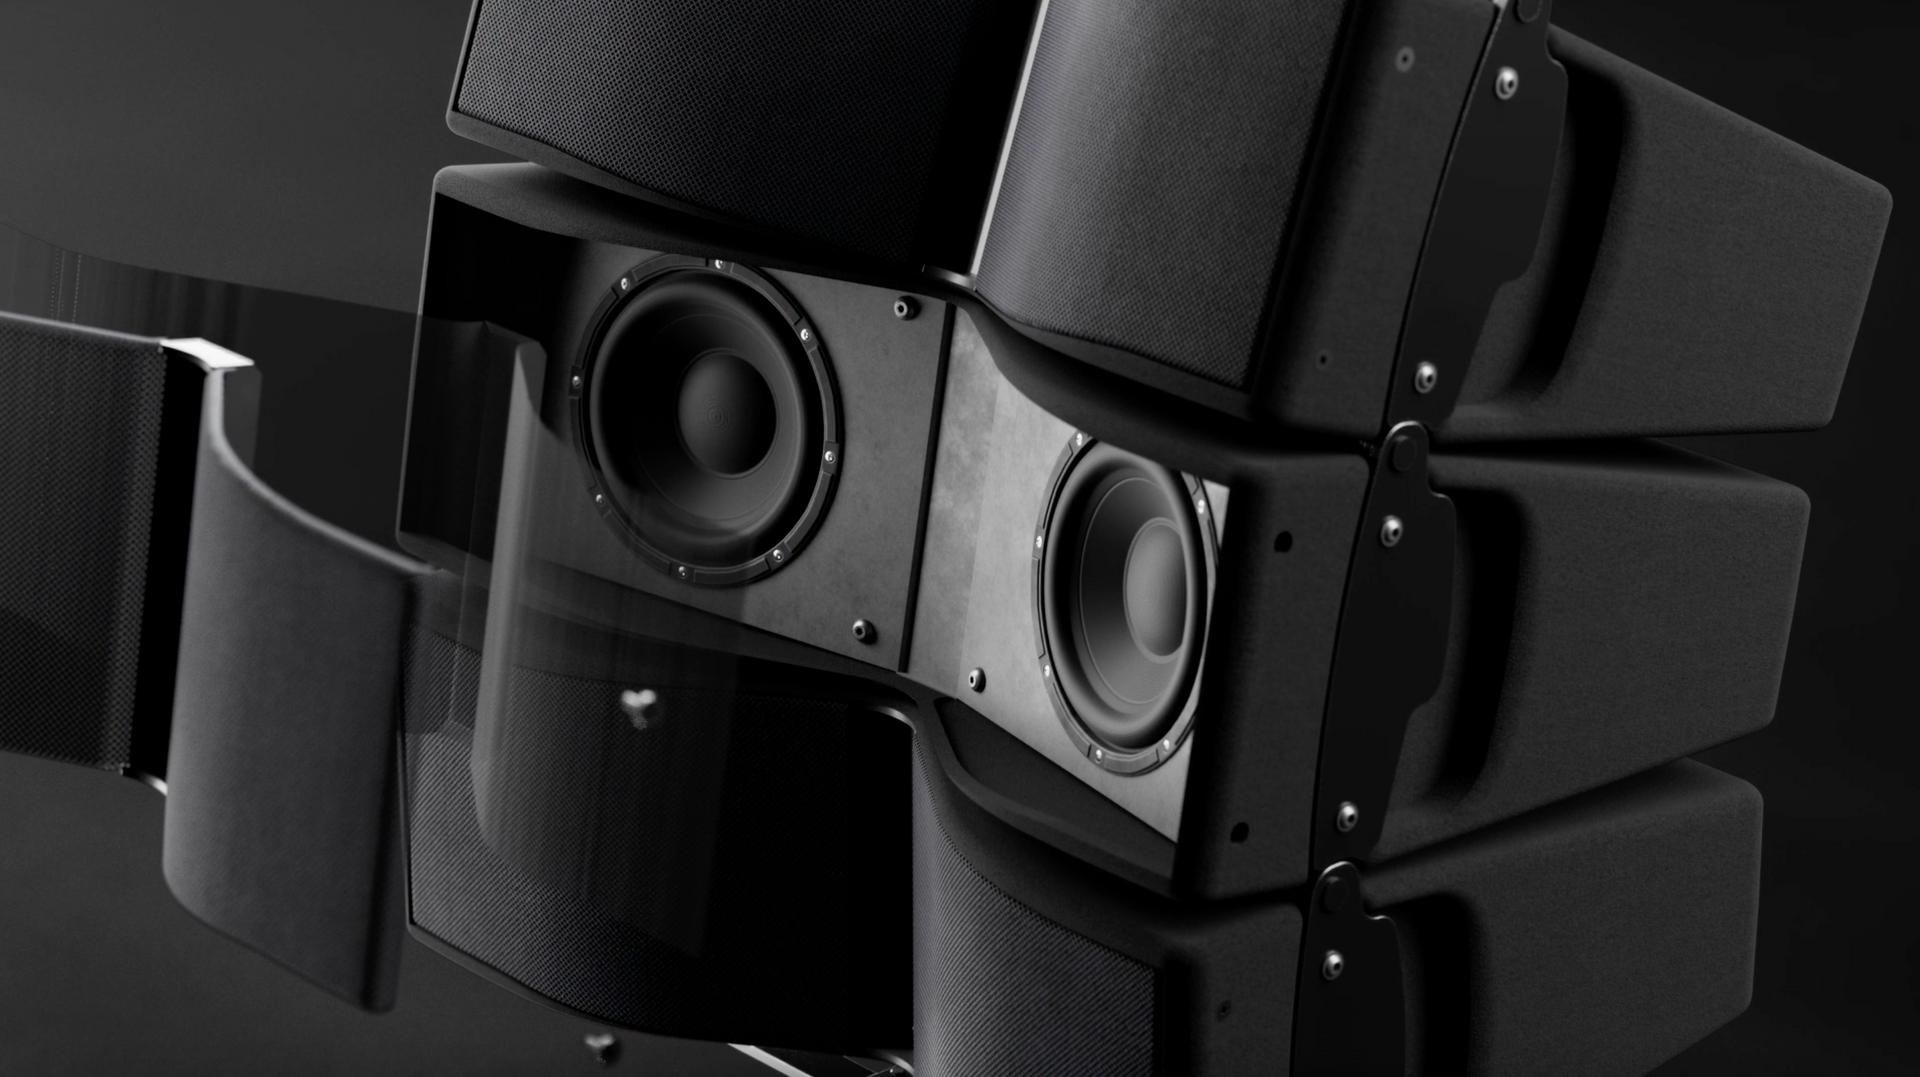
Your acoustic engineering deserves high-impact marketing assets. 🔊
Stop filming products. Start rendering success. 🚀

Profile Service | Curating Resources You Need

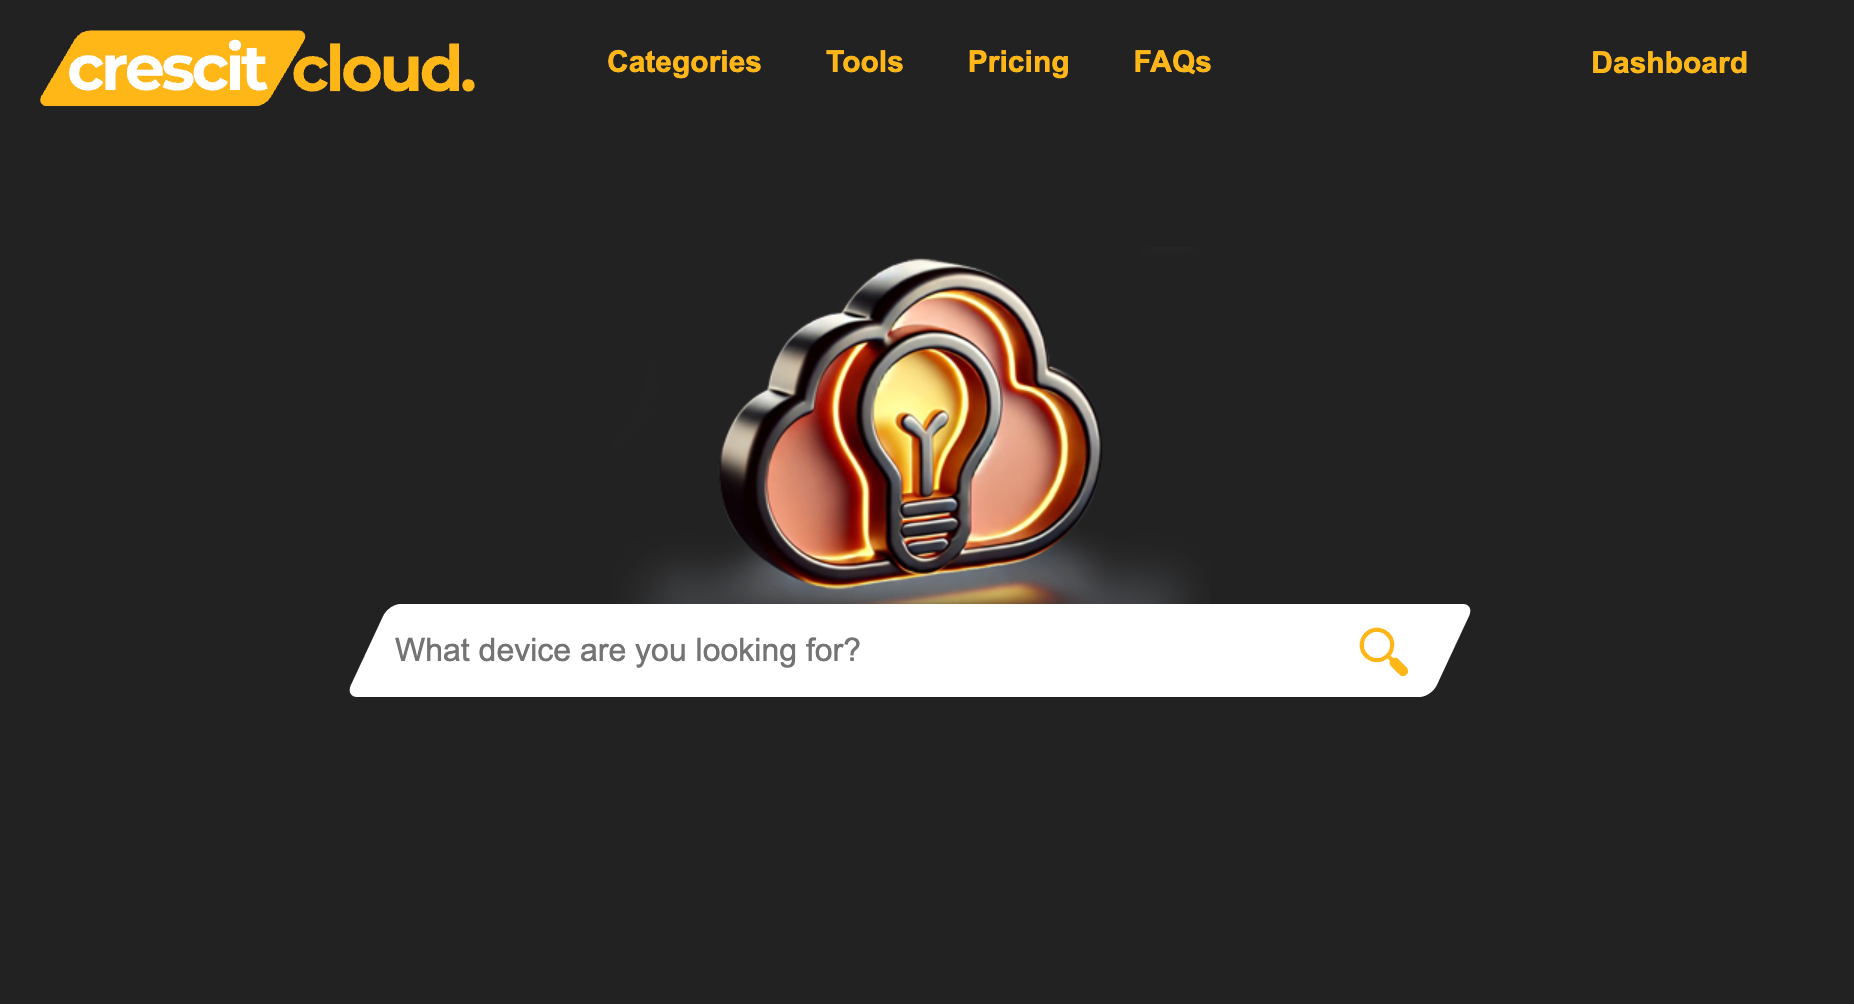
Welcome to Crescit Cloud Knowledgebase. Crescit Cloud is a comprehensive platform providing AV and lighting professionals with the essential tools, device libraries, and resources needed to streamline project planning and execution.
We know the feeling: you’re excited about a new gadget, but trying to find the perfect model online turns into a frustrating, hour-long hunt. Slow loading times, irrelevant results, and having to know the exact product name just to find it. That era of "digging" is officially over. The team at Crescit Cloud is thrilled to announce a massive overhaul of our core search technology, focusing specifically on making your entertainment tech journey faster, smarter, and more visual than ever before. We didn't just tweak the algorithm; we supercharged it with AI. Here’s a deep dive into the two major enhancements designed to bring you "Less digging, more doing." 1. The Supercharged Search: AI That Reads Your Mind The heart of our update is our new AI-driven search engine. This isn't your average keyword match; this is semantic search designed to understand intent and context. What this means for you: Typo Tolerance is a Superpower: Forgot how to spell that obscure audio brand? Typo in the model number? No problem. Our AI instantly recognizes and corrects misspellings on the fly, ensuring you still land on the exact device or specification sheet you need. Lightning Speed: Powered by Crescit Cloud’s robust infrastructure, the search experience is now remarkably fast. Get your results in a blink, every single time. 2. Discover Entire Catalogs with New Manufacturer Pages When you love a brand, you want to see everything they offer. Our second major update introduces dedicated, comprehensive Manufacturer Pages. Instead of piecing together a brand's catalog from scattered search results, you can now: Dive Deep: Access an entire, organized collection of devices from your favorite manufacturers—from flagship fixtures to essential audio components. Simplify Brand Loyalty: Quickly compare different product lines (e.g., a lighting manufacturer's "Profile" line vs. their "Wash" line) without leaving the page. Stay Up-to-Date: These pages are constantly updated, ensuring you see the absolute latest releases the moment they become available in our library. 3. An Overhauled Display: Visual, Fast, and Functional We know that when specifying equipment, images and quick facts are everything. We’ve redesigned the search results display to prioritize visual speed and information efficiency: 🖼️ Large, Crisp Images: Identify the device or product you're looking for immediately. The larger images allow you to quickly confirm the visual aesthetics and design. ✅ Quick-Find Product Tags: Every result now features prominent tags (e.g., DMX Fixture , 5.1 Channel Soundbar , Video Projector ). These tags allow you to confirm the product type instantly and even serve as quick filters to refine your search even further.
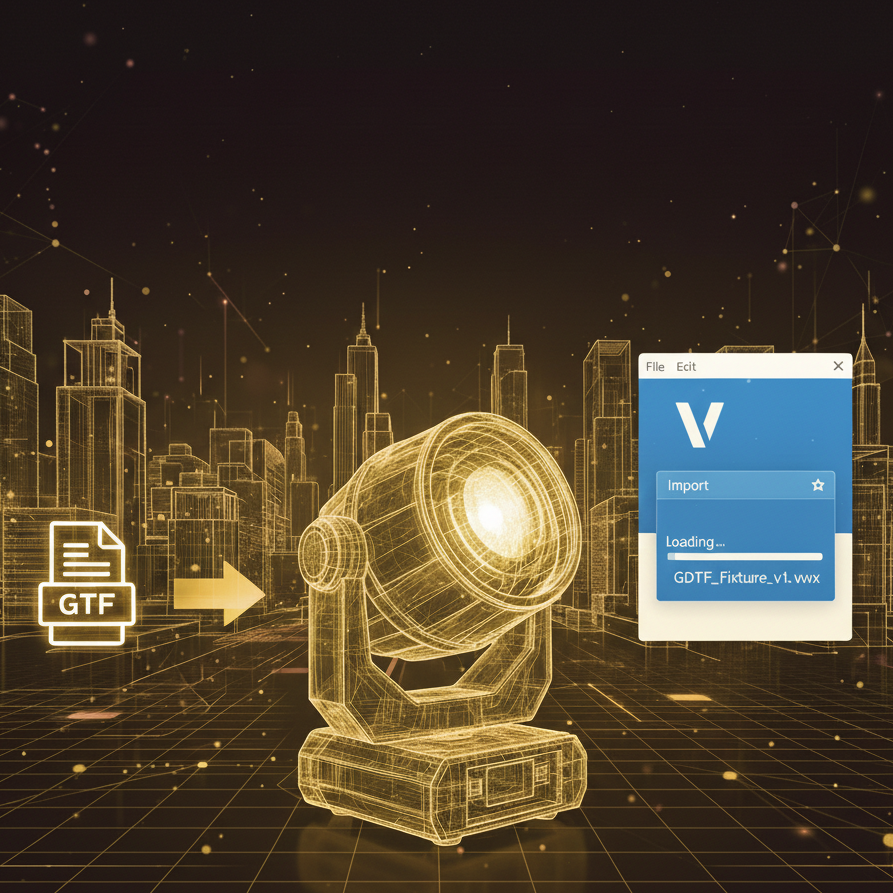
The General Device Type Format (GDTF) is revolutionizing the entertainment workflow, connecting design, planning, and control. If you're using Vectorworks 2026.2.1 on Windows 11, importing GDTF files is straightforward. This guide will walk you through the process, from selecting a lighting fixture to applying the GDTF geometry. 1. Select the Fixture in Vectorworks First, you need to place a lighting device on your drawing. Use the Lighting Device Tool to select a fixture. Go to "Select Lighting Symbol" . Find and click on the desired fixture, such as the Robe Lighting Robin Espite. Press "Select" . 2. Open the GDTF Share Connection The GDTF files are downloaded from the GDTF Share platform. In the Vectorworks menu bar, click "Entertainment" . Hover over "GDTF" . Select "Open GDTF Share Connection" . 3. Login and Download the GDTF File Selecting the connection will open a web browser directed to the GDTF Share website. Log in to your GDTF Account. After logging in, search for and select the fixture you desire. Download the GDTF file. 4. Locate the Downloaded GDTF File Once the GDTF file is downloaded, it will automatically appear in your Vectorworks Resource Manager. If the Resource Manager is not visible, press CTRL + R (on Windows) to bring it up. The new GDTF file will be available under your Vectorworks Libraries . 5. Insert the GDTF File into the Fixture Now you need to associate the downloaded GDTF file with the fixture you placed earlier. First, select the fixture in your drawing. In the Object Info palette, navigate to the "GDTF Fixture" field. Click the dropdown menu and choose "Other..." . This will open the "GDTF Fixture Mode" dialog. In the dialog, locate the manufacturer, select the correct mode for the fixture, and click "OK" . 6. Apply GDTF Geometry (Optional) To ensure your fixture's 2D and 3D representations match the GDTF model, you can apply the GDTF geometry. With the fixture still selected, check the "Use GDTF Geometry" box in the Object Info palette. The 3D and 2D models of the fixture will update accordingly. Following these steps, you can successfully import GDTF files and enhance your lighting design workflow in Vectorworks 2026.